Register
Register a new RadistWeb account: fill in name, email, and password, confirm via email, then create a company or join one through an invitation link or code.
New users registration
The following fields must be filled in during registration:
- Name
- Password
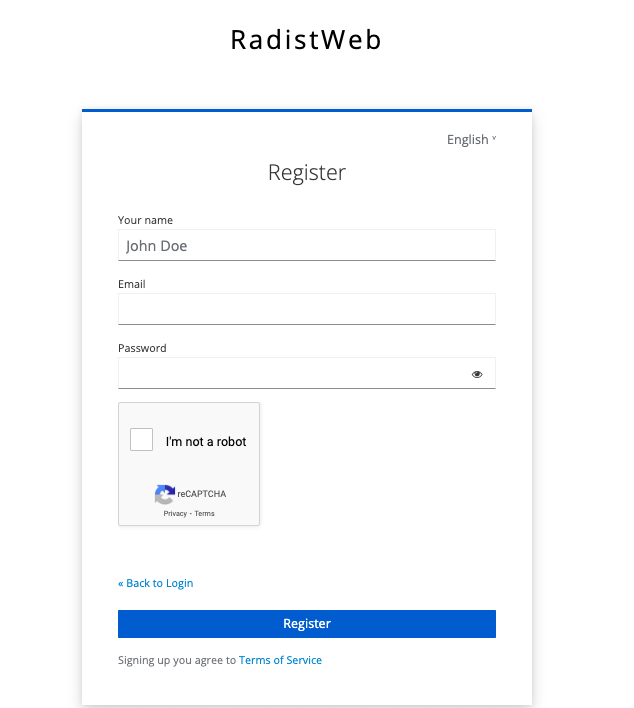
After filling in all the fields, click on “Register”.
After clicking on the “Register” button, a confirmation email will be sent to the email you specified. You will need to follow the link in the received email.
📩 If you couldn’t find the confirmation email in the Inbox tab, also check the SPAM section in your mailbox.
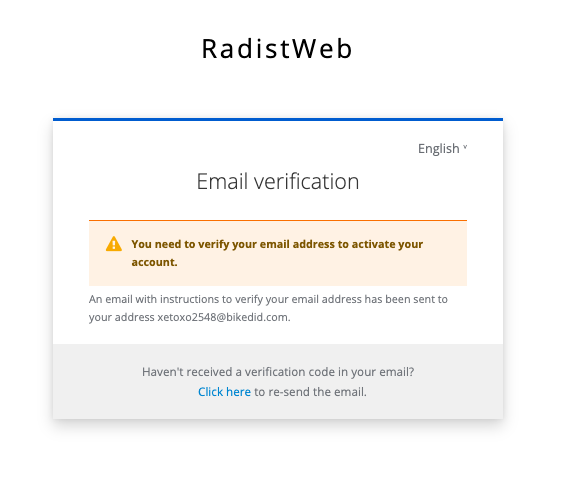
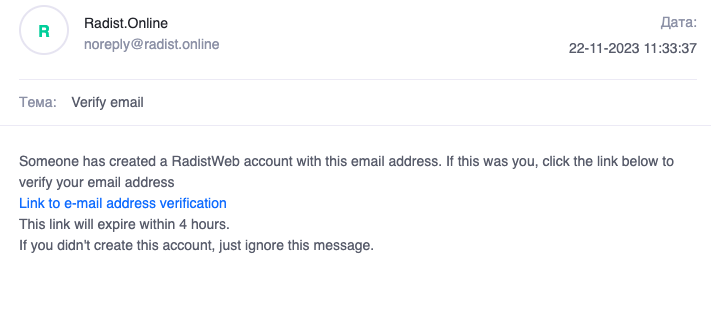
Next, a window will be opened:
- With the name of the company, if you do it through an invitation link;
Optionally: Enter the invitation code to join an already registered company (If you do not do it through a link, but you have it)
- Or create a company (If the company has not yet been created).
Registration through a link
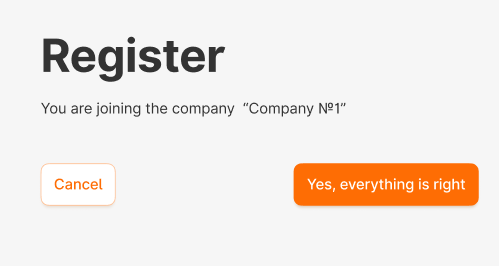
If you do it through an invitation link, after entering the user registration data, a window with the name of the company will be displayed:
Creation of a new company
If the company is not yet created in Radist Web, select “Create new company”.
A window will be displayed with fields for filling in:
Name of the company.
Phone number (Contact number)
Email — it is shown as plain text with a lock icon. This is not an input field: the email of the account the company is being created from is filled in automatically and cannot be changed or cleared.
Consent to receive information and advertising messages — a checkbox under the fields. If you tick it, we will be able to send news about products, updates and special offers to the email and phone number specified. The consent can be withdrawn in the notification settings.
Promo code, if any.
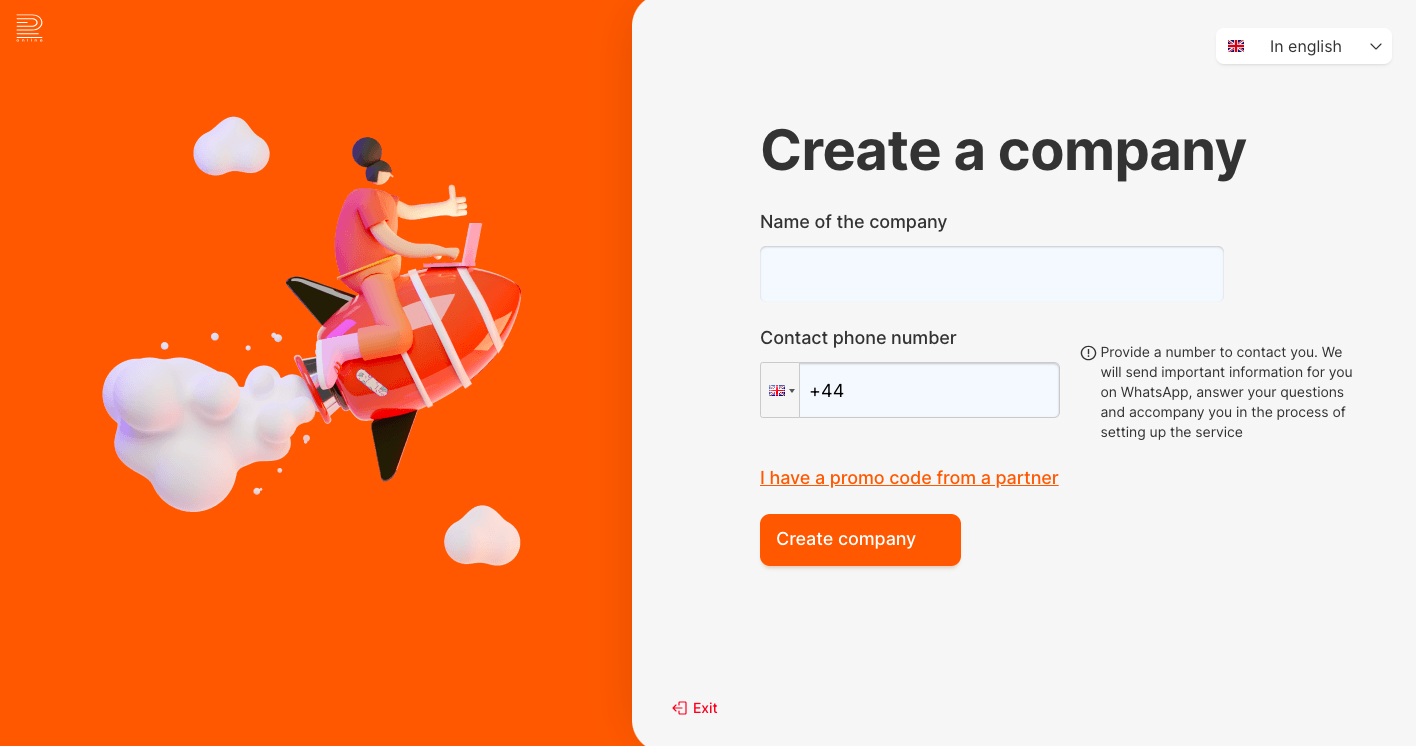
The email is deliberately not editable: this way we are sure that it was confirmed during the account registration, and you will not subscribe someone else’s address entered by mistake. If you need a different email, create an account with that email and create the company from that account.
Having specified all the necessary data to create a company, go ahead and get into the personal account you created.
When you first log in, you will be offered training in our personal account.
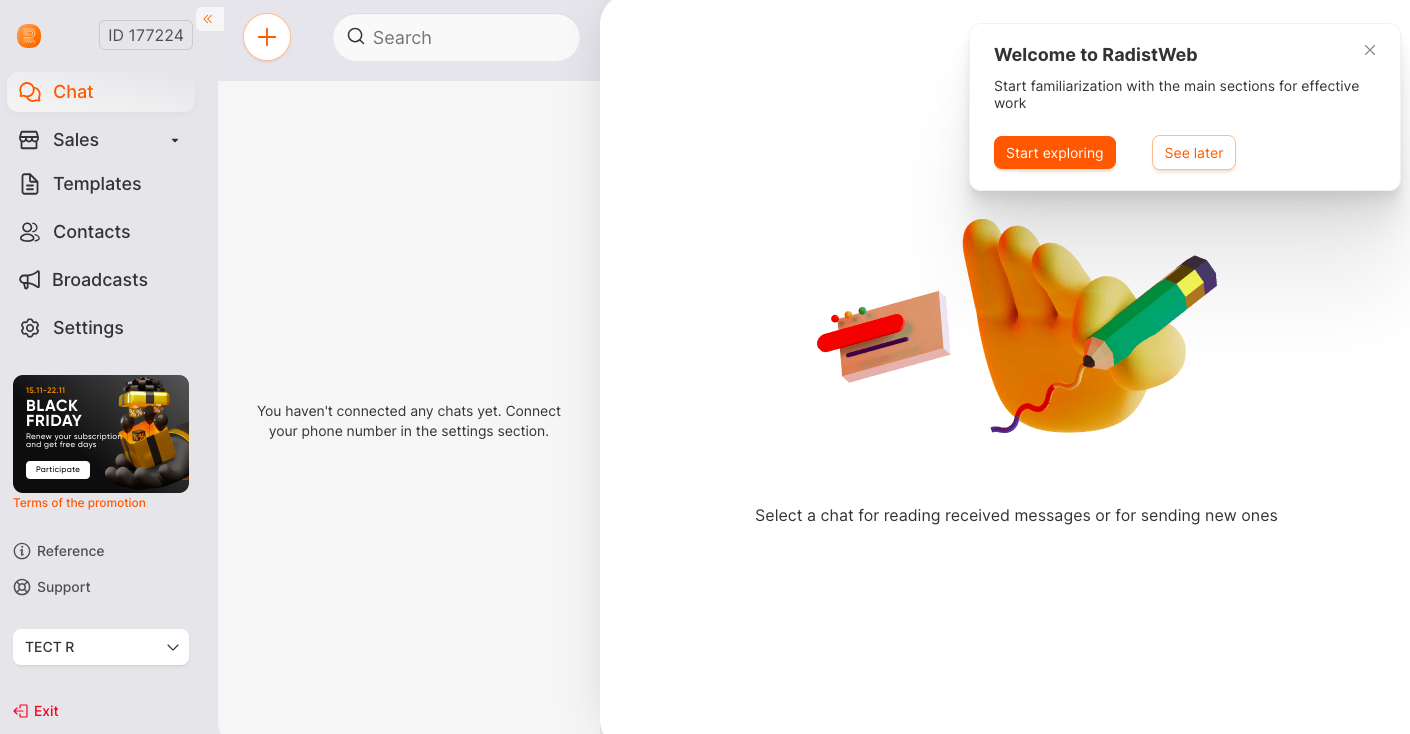
✅ Done. A personal account has been created.
Now, to be able to communicate with customers, you need to connect the messenger you need. To do this, go to the “Connections” section and select the desired messenger.